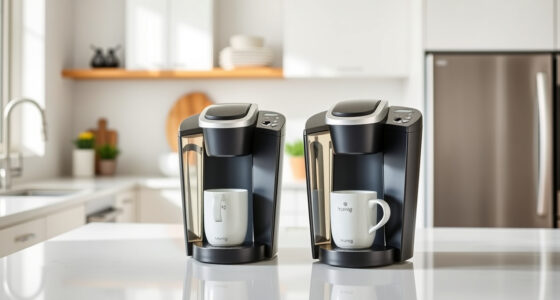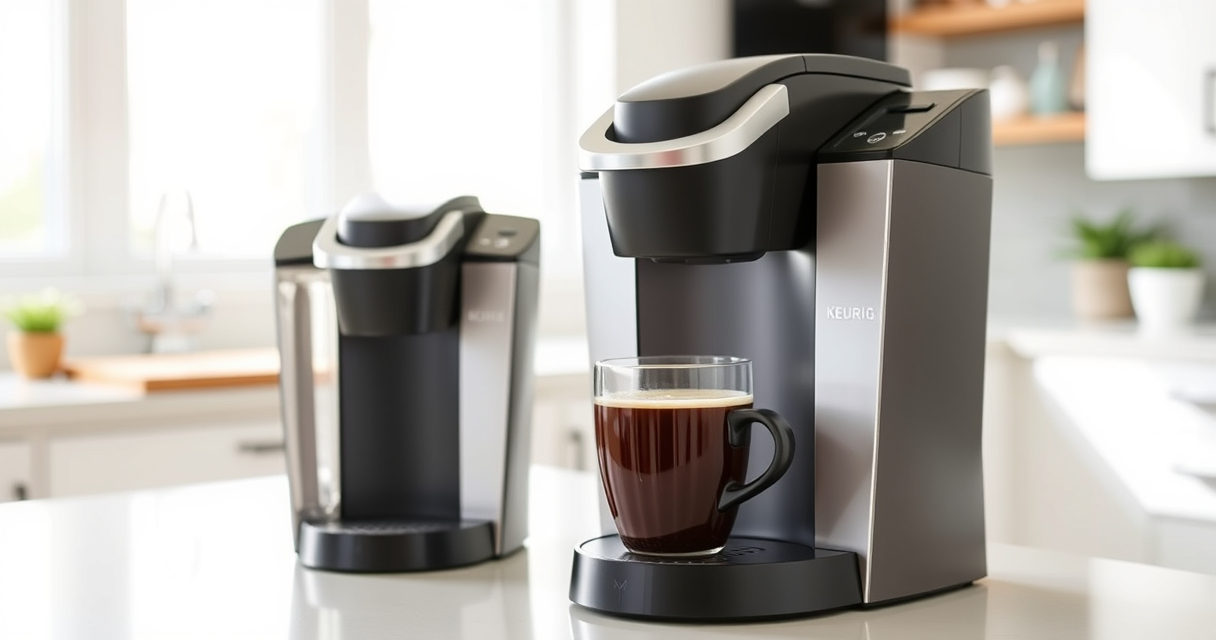

Getting your new Keurig K-Mini single-serve coffee maker ready for use is straightforward and quick. Whether you’re a first-time user or upgrading your coffee setup, this guide provides clear, step-by-step instructions to ensure your machine is set up correctly, safe to use, and ready for your favorite brews.

Get home appliances delivered free with Prime
- Fast, free delivery on millions of items
- Prime Video, Amazon Music and more included
- Member-only deals all year
Follow these simple steps to enjoy fresh, flavorful coffee in minutes, and learn some helpful tips and warnings to keep your Keurig running smoothly over time.
Key Takeaways
| Compact Design | Fits small spaces and is travel mug friendly. |
| Easy Water Filling | Single reservoir requires fresh water each brew. |
| Quick Setup | Minimal assembly needed for immediate use. |
| Maintenance Tips | Regular descaling and cleaning ensure best taste. |
Unboxing and Initial Inspection
- Carefully remove your Keurig K-Mini from its packaging. Check that all components are present, including the coffee maker, power cord, and any accessories.
- Inspect the machine for any visible damage or loose parts. Ensure the drip tray and water reservoir are intact and properly attached.
- Read the user manual to familiarize yourself with the features and safety instructions specific to your model.
Setting Up Your Keurig K-Mini
- Place the Keurig on a stable, flat surface near an electrical outlet.
- Remove the water reservoir and fill it with fresh, clean water. Reattach it securely to the machine.
- Ensure the drip tray is in place and properly aligned.
- Connect the power cord to an outlet, and press the power button. Your machine will perform a quick initialization.
Running Your First Brew
- Lift the brew handle and insert a K-Cup pod of your choice. Close the handle securely.
- Select your desired brew size between 6-12oz by pressing the appropriate button.
- Place a mug on the drip tray, then press the brew button. The machine will heat up and start brewing automatically.
- Once brewing is complete, carefully remove your mug. Repeat as desired for additional beverages.
Maintenance and Troubleshooting
Regular cleaning and descaling are essential for optimal performance. Use the included rinse pods to clear flavor residue, and descale the machine every 3-6 months with a descaling solution to remove mineral buildup.
If your machine isn’t working properly, check for common issues such as clogs, low water, or power problems. Refer to the manual or troubleshooting tips for quick fixes.
Tips for Safe and Efficient Use
- Always use fresh water for each brew to prevent mineral buildup and improve flavor.
- Do not overfill the water reservoir beyond the maximum fill line.
- Unplug the machine when not in use for extended periods.
- Use the auto-off feature to conserve energy and prevent overheating.
The Products in This Guide

Keurig K-Mini Single Serve K-Cup Pod Coffee Maker
- ✔ Power: 120V
- ✔ Material: Plastic
- ✔ Warranty: 1 year

My K-Cup® Reusable Coffee Filter
- ✔ Ease of Use: Simple to fill and clean
- ✔ Durability: High-quality plastic
- ✔ Eco Benefits: Reduces waste from disposable pods
Keurig K-Mini Single Serve K-Cup Pod Coffee Maker
The Keurig K-Mini is an ideal choice for those with limited space who still want a reliable coffee maker. Its sleek, minimalist design makes it easy to set up and use, delivering fresh coffee in minutes. The single-serve reservoir requires only fresh water for each brew, and its travel mug compatibility makes it a favorite for busy mornings.
Pros:
- Fits small spaces
- Brews quickly
- Travel mug friendly
- Energy efficient
Cons:
- Limited brew size options
- No built-in water filter
- Requires frequent refilling
Best for: Small apartments, dorm rooms, offices, travelers
Not ideal for: Users seeking multiple cup sizes or a built-in water filter
Bottom line: Compact and efficient, the Keurig K-Mini is perfect for small spaces and quick coffee needs.
My K-Cup® Reusable Coffee Filter
The My K-Cup Reusable Coffee Filter allows you to brew your own ground coffee, giving you the freedom to choose flavor profiles and save money. Its compatibility with the Keurig K-Mini makes it a versatile addition to your setup.
Pros:
- Custom coffee blends
- Cost-effective
- Eco-friendly
- Compatible with K-Mini
Cons:
- Requires ground coffee
- Cleaning needed after use
- Slightly more prep time
Best for: Coffee enthusiasts wanting control over their brew
Not ideal for: Users preferring pre-packaged K-Cup pods for convenience
Bottom line: A cost-effective way to enjoy your own ground coffee with your Keurig.
Frequently Asked Questions
How do I descale my Keurig K-Mini?
Use a descaling solution or white vinegar by filling the water reservoir with the solution, running a brew cycle without a pod, then rinsing thoroughly with clean water. Repeat if necessary every 3-6 months.
Can I use ground coffee with my Keurig K-Mini?
Yes, with a reusable filter like the My K-Cup, you can brew your own ground coffee instead of using K-Cup pods.
Why is my coffee weak or watery?
Ensure you’re selecting the correct brew size and using enough grounds if brewing with a reusable filter. Also, check that the water reservoir is filled with fresh water.
My Keurig won’t turn on. What should I do?
Check that the machine is plugged in properly, the outlet has power, and the power button is pressed. Try unplugging and plugging it back in if needed.
How often should I clean my Keurig?
Clean the machine regularly with rinse pods after each use, and descale every 3-6 months to prevent mineral buildup and maintain optimal taste.
Enjoy Fresh Coffee Every Morning with Ease
Setting up your Keurig K-Mini is quick and straightforward, ensuring you can start brewing your favorite coffee in just a few minutes. Regular maintenance, like descaling and cleaning, will keep your machine performing at its best for years to come. Whether you prefer K-Cup pods or ground coffee via a reusable filter, your new Keurig offers convenience and quality in a compact design. Happy brewing!
Affiliate disclosure: As an Amazon Associate we earn from qualifying purchases. Prices and availability are accurate as of the time of publishing.
Fall yard work Picks
leaf blowers
As an affiliate, we earn on qualifying purchases.