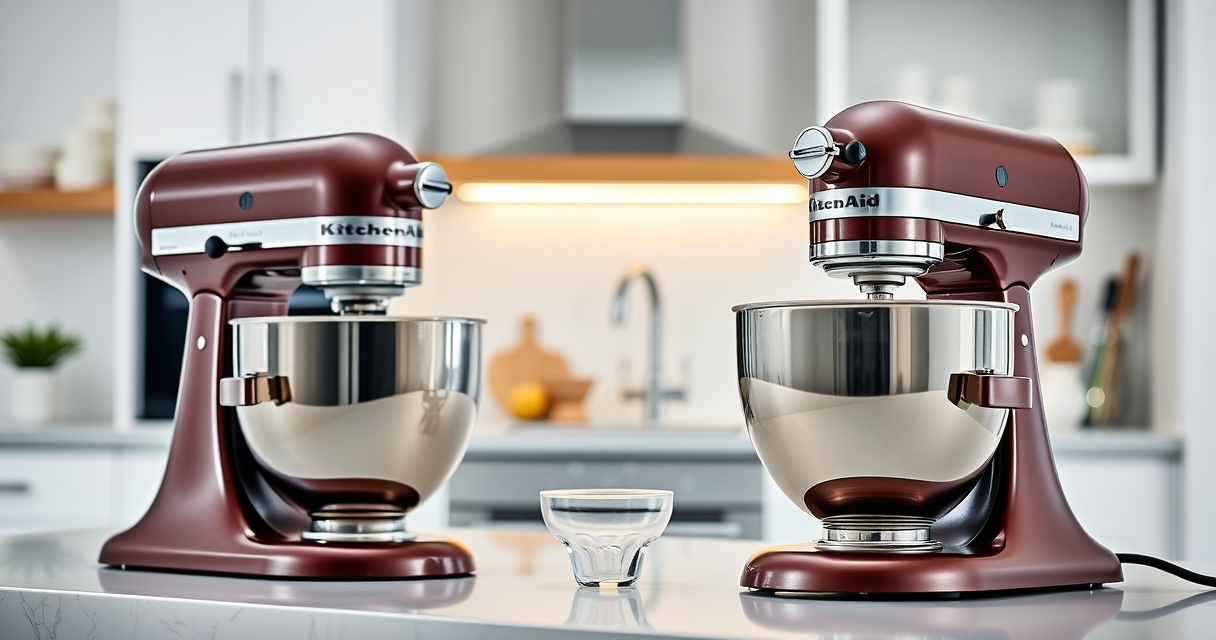

If your KitchenAid Artisan Series 5 Quart Tilt Head Stand Mixer is leaking oil, it’s a sign that something may be wrong inside the motor housing or transmission. While a small amount of lubricant is normal in some areas, excessive oil leakage can indicate a deeper issue that needs addressing to prevent further damage. This guide provides clear, practical steps to identify the cause of the leak and how to fix it safely, ensuring your mixer remains in top working condition.

Get home appliances delivered free — and shop member deals
- Fast, free delivery on millions of items
- Access to Prime Big Deal Days deals on October 6–7
- Prime Video, Amazon Music and more included
Before proceeding with any repairs, always ensure the mixer is unplugged, and handle internal components carefully to avoid injury or further damage. We’ll walk through common causes, inspection procedures, and safe fixes to get your mixer back to optimal performance.
Key Takeaways
| Identify the source of the leak | Understanding where the oil leak originates helps determine the cause. |
| Check internal seals and gaskets | Worn or damaged seals are common culprits for leaks. |
| Inspect the gear housing | Oil may leak from the transmission if the housing is compromised. |
| Avoid DIY fixes if unsure | Seek professional repair to prevent voiding warranties or causing damage. |
| Regular maintenance can prevent leaks | Cleaning and inspecting your mixer periodically helps catch issues early. |
Understanding Why Your Mixer Leaks Oil
Oil leaks in your KitchenAid stand mixer can result from several factors. The most common cause is the deterioration of internal seals and gaskets that are designed to contain lubricants within the gear housing. Over time, wear and tear, exposure to heat, or improper handling may cause these seals to crack or become loose, leading to oil seeping out. Additionally, if the mixer has been subjected to overloading or is used continuously for extended periods, internal components may generate excess heat, accelerating seal degradation.
In some cases, leaks may originate from the transmission housing or the gear assembly, where lubricants are used to ensure smooth operation of the motor and gears. Since the KitchenAid Artisan Series 5 Quart Tilt Head Mixer is built with durable metal construction and designed for heavy use, understanding the typical failure points helps you troubleshoot effectively.
Step-by-Step Troubleshooting to Find the Cause
- Unplug and prepare your mixer: Always disconnect the mixer from power before inspecting. Remove any attachments and the pouring shield for easier access.
- Visual inspection: Carefully examine the exterior and visible internal areas for oil residue, especially around the gear housing, tilt head mechanism, and under the motor head.
- Check the gear housing: Remove the tilt head to access the internal gear case if necessary. Look for signs of oil pooling or seepage around seals and gaskets.
- Inspect seals and gaskets: Identify any cracks, deformation, or wear. Pay particular attention to the seal around the transmission and the lid of the gear case.
- Look for damage or cracks: Examine the housing for visible cracks or damage that could be causing leaks. If found, replacement of the housing or seals may be necessary.
- Clean the area: Use a soft cloth to wipe away excess oil for a clearer view and to prevent further mess or damage.
How to Fix an Oil Leak Safely
- Replace worn seals or gaskets: Purchase the correct replacement parts designed for your model. Follow manufacturer instructions for removing and installing new seals, ensuring they fit snugly to prevent future leaks.
- Reassemble the gear housing: Carefully reattach all parts, making sure everything is aligned properly. Use appropriate tools and avoid overtightening screws or bolts.
- Refill with lubricant if necessary: Check your user manual for the recommended type and amount of lubricant. Usually, only a small amount of food-grade or manufacturer-approved lubricant is needed.
- Test the mixer: Plug in the appliance and run it at low and high speeds to ensure no leaks occur and that it operates smoothly.
- Seek professional repair if needed: If the leak persists or if you’re uncomfortable performing repairs, contact a certified service technician or authorized repair center.
Tips for Preventing Future Oil Leaks
- Regularly inspect your mixer: Check seals and gaskets periodically for signs of wear or damage.
- Avoid overloading: Follow recommended batch sizes and speed settings to prevent excess strain on internal components.
- Keep it clean: Wipe down your mixer after use to remove dust, debris, and excess lubricant that could contribute to deterioration.
- Use manufacturer-approved lubricants: Only use lubricants recommended by KitchenAid to avoid damaging internal parts.
- Store properly: Keep the mixer in a dry, cool place to reduce the risk of seal degradation caused by environmental factors.
Safety Tips & Warnings
- Unplug before repair: Always disconnect the power cord before opening or inspecting your mixer.
- Handle internal parts carefully: Avoid forcing components apart, as internal parts are delicate and may break.
- Use proper replacement parts: Only use components designed for your specific model to ensure safety and compatibility.
- Consult professionals: When in doubt, seek help from qualified technicians to prevent injury or further damage.
The Products in This Guide

KitchenAid Artisan Series 5 Quart Tilt Head Stand Mixer
- ✔ Weight: 26 lbs
- ✔ Dimensions: 14 x 8 x 14 inches
- ✔ Power: 325W

KitchenAid Stand Mixer Attachment
- ✔ Weight: 2.5 lbs
- ✔ Dimensions: 7 x 3 x 4 inches
- ✔ Power: N/A (powered by mixer)
KitchenAid Artisan Series 5 Quart Tilt Head Stand Mixer
The KitchenAid Artisan Series 5 Quart Tilt Head Stand Mixer is a durable, versatile appliance built for heavy use, but like all machinery, it may develop leaks over time due to seal wear. Proper inspection and maintenance can extend its lifespan and ensure smooth operation.
Pros:
- Durable metal construction
- Easy tilt-head access
- Multiple speed settings
- Large 5-quart bowl
Cons:
- Possible internal oil leaks
- Requires careful maintenance
- Seal replacement can be complex
Best for: Home bakers and cooking enthusiasts seeking a reliable stand mixer
Not ideal for: Users uncomfortable with DIY repairs or internal maintenance
Bottom line: Regular inspection and maintenance help prevent oil leaks and prolong your mixer’s life.
KitchenAid Stand Mixer Attachment
The KitchenAid Stand Mixer Metal Food Grinder attachment expands your mixer’s capabilities, making it easy to process fresh meats, vegetables, and more. It’s a valuable addition for those who want to maximize their stand mixer’s utility and avoid internal issues related to overloading or improper use.
Pros:
- High-quality metal construction
- Multiple grinding plates
- Two sausage stuffer tubes
- Large food tray
Cons:
- Additional purchase needed
- Requires cleaning after use
- Attachment may be difficult to install for some
Best for: Home cooks looking to prepare fresh ingredients and meats
Not ideal for: Users who do not frequently grind or process foods
Bottom line: Adding the food grinder attachment extends your mixer’s functionality for fresh food prep.
Frequently Asked Questions
Can oil leaks damage my KitchenAid mixer?
Yes, prolonged oil leaks can cause internal components to wear prematurely and may lead to further mechanical issues if not addressed promptly.
Is it safe to continue using my mixer if it leaks oil?
It’s best to cease use until the leak is diagnosed and repaired to prevent further damage or safety hazards.
How often should I inspect my mixer for leaks?
Perform visual inspections every few months, especially if the mixer is used heavily or shows signs of noise or overheating.
Can I replace the seals myself?
If you are comfortable with small appliance repairs and have the right tools, replacing seals can be a DIY project. Otherwise, professional service is recommended.
What type of lubricant should I use?
Use only food-grade or manufacturer-approved lubricants specified in your user manual to ensure safety and compatibility.
Keep Your Mixer Running Smoothly
Addressing oil leaks in your KitchenAid Artisan stand mixer promptly can save you costly repairs and extend its lifespan. Regular inspections, timely seal replacements, and proper maintenance are key to keeping your mixer operating at peak performance. When in doubt, consult a professional technician to ensure safe and effective repairs, so you can continue baking and cooking with confidence.
Affiliate disclosure: As an Amazon Associate we earn from qualifying purchases. Prices and availability are accurate as of the time of publishing.
NFL season / tailgating Picks
team gear
As an affiliate, we earn on qualifying purchases.