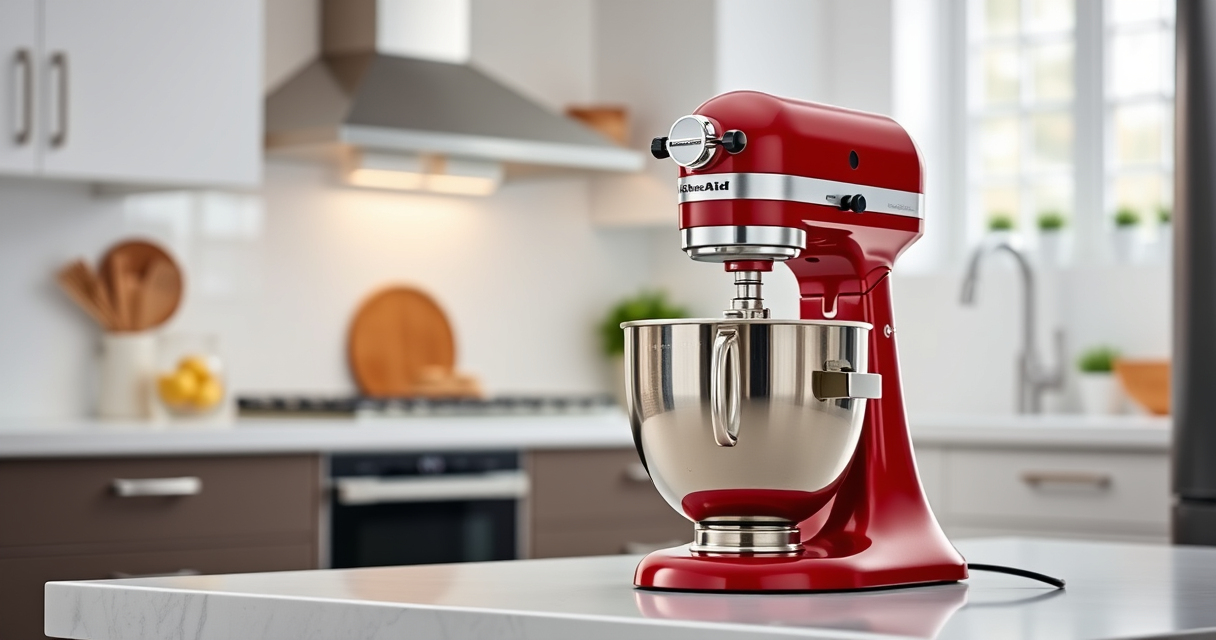
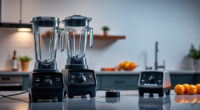
Maintaining your KitchenAid Artisan mixer is essential for optimal performance and longevity. Proper cleaning prevents buildup, ensures hygiene, and keeps your appliance looking new. Follow these simple, effective steps to clean your mixer safely.

Get home appliances delivered free with Prime
- Fast, free delivery on millions of items
- Prime Video, Amazon Music and more included
- Member-only deals all year
Always disconnect the mixer from power before cleaning, and use gentle cleaning methods to avoid damage.
Preparing to Clean
- Unplug the mixer from the electrical outlet to ensure safety.
- Remove all attachments and accessories, such as the beater, dough hook, or whisk.
- Wipe down the exterior with a damp cloth to remove loose dust or crumbs.
- For thorough cleaning, disassemble removable parts like the bowl and attachments.
Cleaning the Attachments and Bowl
- Wash all removable parts with warm, soapy water using a non-abrasive sponge or cloth.
- Rinse thoroughly to remove soap residue.
- Dry each part completely with a soft towel or air dry to prevent rust or corrosion.
- For stubborn stains, soak parts in warm soapy water for 10-15 minutes before cleaning.
Cleaning the Mixer Body
Use a damp cloth to wipe the mixer body, avoiding any electrical components.
For stubborn grime, dampen a cloth with a mixture of mild soap and water, then wipe gently.
Dry immediately with a clean towel to prevent moisture damage.
Cleaning the Attachments and Gears
Use a soft brush or a cleaning brush (like the included one with certain attachments) to clean crevices and gears.
If your mixer has a gear housing, avoid using water directly; instead, wipe with a dry or slightly damp cloth.
Lubricate any moving parts as recommended by the manufacturer, if applicable.
Final Tips and Warnings
- Never immerse the mixer body in water or any other liquid.
- Always dry all parts thoroughly before reassembling or storing.
- Avoid using abrasive cleaners or scrubbers that could scratch surfaces.
- Perform regular cleaning after heavy use to prevent buildup and ensure smooth operation.
Products That Help
KitchenAid Stand Mixer Attachment

The KitchenAid Metal Food Grinder attachment is a versatile accessory that connects easily to your stand mixer, allowing you to grind meat, vegetables, and more effortlessly. Its durable metal construction and included grinding plates make it a practical addition to your kitchen tools.
Pros:
- Durable metal build
- Multiple grinding plates included
- Large food tray for bigger batches
- Easy to store in its case
Cons:
- Requires refrigerator-chilled ingredients for best results
- Sold separately from the mixer
Best for: Grinding meats, vegetables, and creating fresh ground foods
Not ideal for: For grinding very soft or frozen ingredients
Bottom line: A reliable, high-quality attachment for fresh grinding needs.
Frequently Asked Questions
Can I clean the mixer body with water?
No, clean the mixer body with a damp cloth only, avoiding water contact with electrical components.
How often should I clean my attachments?
Clean attachments after each use to prevent residue buildup and ensure hygienic operation.
Is it safe to immerse parts in dishwasher?
Most removable parts are dishwasher safe, but check your specific attachment’s instructions. The mixer body should never be submerged.
What should I do if my mixer is sticky or has residue buildup?
Wipe with a damp cloth using mild soap, and consider cleaning removable parts thoroughly to prevent residue.
Affiliate disclosure: As an Amazon Associate we earn from qualifying purchases. Prices and availability are accurate as of the time of publishing.
Fall yard work Picks
leaf blowers
As an affiliate, we earn on qualifying purchases.