
To temporarily upgrade a rental bathroom with peel-and-stick tiles, start by measuring the area accurately and selecting a style that complements your space. Prepare the surface, making sure it’s clean and smooth, then carefully align and press the tiles into place, starting from the center or corner. Reposition the tiles during installation if needed for perfect alignment. For long-lasting results, choose high-quality tiles and follow proper maintenance tips—discover more tips to guarantee a professional finish.
Key Takeaways
- Measure your bathroom space accurately to determine the number of peel-and-stick tiles needed.
- Choose tiles with high color fidelity and designs that match your desired aesthetic.
- Plan the layout on the floor beforehand, starting from the center or a corner for even application.
- Carefully peel, align, and press tiles, using a level to ensure straight lines and neat results.
- Reposition tiles during installation if necessary, and follow manufacturer guidelines for durability and removal.
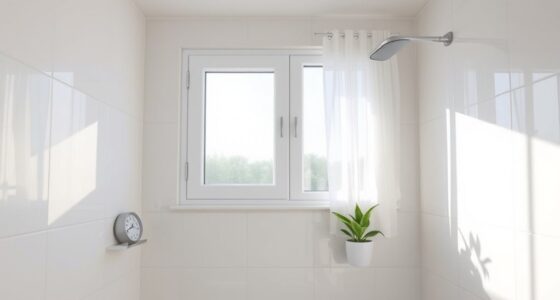
Are you considering a quick and easy way to update your space? Peel-and-stick tiles are an excellent solution, especially if you’re renting and want to avoid permanent changes. These tiles are designed for DIY installation, allowing you to transform your bathroom without the mess or commitment of traditional tiling. With a little planning and some basic tools, you can refresh your bathroom’s look in just a few hours. The key is choosing the right tiles and planning your design ideas carefully to ensure a seamless finish.
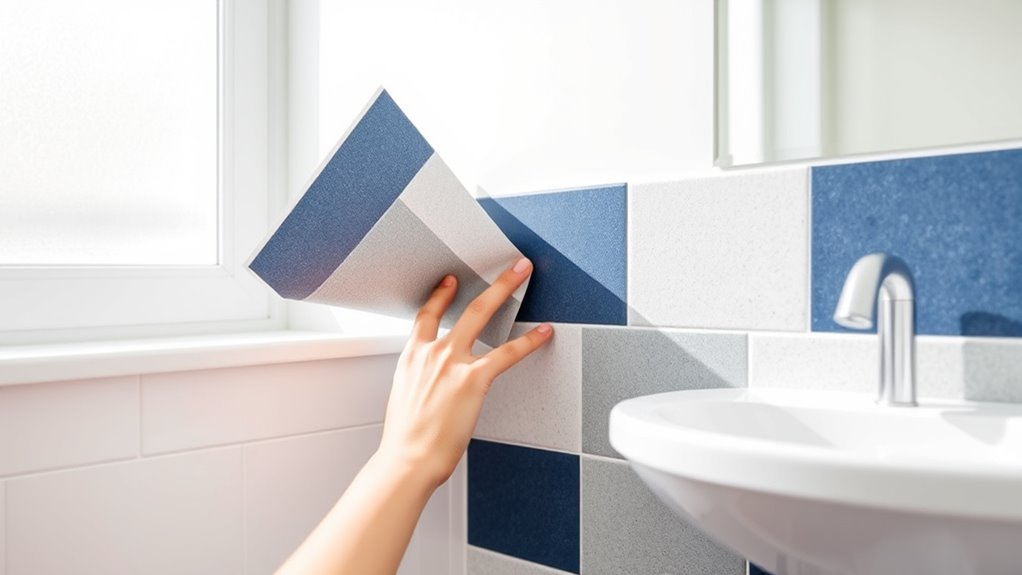
Start by measuring your space accurately to determine how many tiles you’ll need. Once you have your measurements, selecting peel-and-stick tiles that match your style becomes easier. There’s a wide variety of options, from classic subway patterns to modern geometric designs, making it simple to find something that fits your aesthetic. Before peeling off the backing, lay out the tiles on the floor to visualize your design. This step helps you identify the best placement and avoid mistakes during installation. Many tiles are designed with grid lines or easy alignment features, making the DIY installation straightforward and forgiving for beginners.
Measure carefully and lay out tiles beforehand for a perfect peel-and-stick bathroom update.
When it’s time to install, start from the center of the wall or a corner, depending on your preference, and work outward. Peel the backing carefully, aligning the tile with your markings, and press firmly to ensure it adheres properly. Using a straight edge or level can help keep your tiles aligned, especially if you’re aiming for a precise, professional look. If you make a mistake, most peel-and-stick tiles are forgiving enough to be repositioned during initial placement, but it’s best to plan carefully to avoid wasted effort. Additionally, selecting tiles with high color fidelity can help ensure your design stays vibrant and true to your intended aesthetic over time.
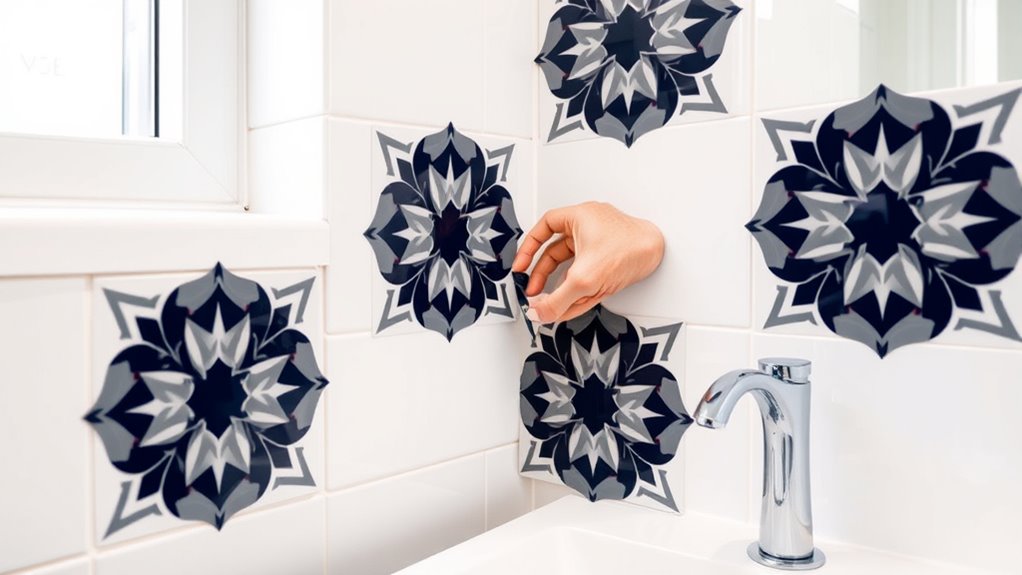
Design ideas can elevate your project from simple to stunning. Consider creating a feature wall with a bold pattern or contrasting colors to add visual interest. You might also use tiles to create a border or accent strip around the room. Combining different textures or patterns can give your rental bathroom a custom feel without permanent alterations. Additionally, some people choose to add decorative decals or trim around the edges to give a finished look.
Top picks for "peel stick tile"
Open Amazon search results for this keyword.
As an affiliate, we earn on qualifying purchases.
Frequently Asked Questions
Can Peel-And-Stick Tiles Be Used on Textured Walls?
Yes, you can use peel-and-stick tiles on textured walls, but wall texture might cause adhesion issues. For best results, guarantee the surface is as smooth as possible by cleaning and lightly sanding rough areas. Applying a primer designed for textured surfaces can help improve adhesion. Keep in mind, the more textured your wall, the higher the chance of tiles not sticking firmly, so take extra care during installation.
How Long Do Peel-And-Stick Tiles Typically Last?
Peel-and-stick tiles typically last around 5 to 10 years, depending on durability lifespan and maintenance. To maximize their longevity, guarantee the surface is clean and dry before installation, press firmly during application, and avoid excessive moisture or heavy impact. Regular maintenance, like gentle cleaning and checking for loose edges, helps extend their lifespan. Proper care keeps your temporary upgrade looking fresh and secure for years to come.
Are There Any Safety Concerns With Adhesive Fumes?
You should be aware of potential safety concerns with adhesive fumes, especially regarding ventilation safety and adhesive toxicity. When applying peel-and-stick tiles, make certain the area is well-ventilated by opening windows and using fans. Choose low-toxicity adhesives if possible, and avoid prolonged inhalation of fumes. Taking these precautions helps protect your health and minimizes risks associated with adhesive fumes during your bathroom upgrade.
Can These Tiles Be Removed Without Damage?
A stitch in time saves nine, and that’s true with peel-and-stick tiles—yes, you can remove them without damage if you use the right removal techniques. Gently heat the tiles with a hairdryer to soften the adhesive, then slowly peel them off. To prevent damage, work carefully and avoid force. Patience is key, so take your time and follow these steps for a damage-free removal.
Do Peel-And-Stick Tiles Work Well in High-Moisture Areas?
Peel-and-stick tiles can work well in high-moisture areas if you choose ones with strong adhesive strength and durability. While they’re designed to resist moisture, some lower-quality options may peel or loosen over time. To guarantee longevity, prep the surface properly, and consider tiles specifically made for bathrooms. Keep in mind that durability concerns exist, but with the right product, your temporary upgrade can hold up in moist environments.
Conclusion
Now that you know how to install peel-and-stick tiles, transforming your rental bathroom is easier than ever. With minimal effort and no permanent changes, you can give your space a fresh look in no time. Thinking about the hassle of removal when moving out? Not a problem—these tiles come off cleanly, leaving no damage behind. Ready to upgrade your bathroom without the commitment? Go ahead—your stylish, temporary upgrade awaits!