To create a DIY portable kitchen island for extra counter space, consider repurposing a vintage dresser, building a crate-based cart with casters, or transforming a rolling utility cart with paint and organizers. You can also craft a foldable island from a drop-leaf table or adapt a sturdy base with a portable surface. If you’re curious about more ideas and practical tips, keep exploring to find the perfect solution for your space.
Key Takeaways
- Repurpose mobile furniture like bar carts or utility carts with sturdy tops for easy, customizable extra counter space.
- Build lightweight islands using plywood or plastic materials with lockable casters for mobility and stability.
- Use stacking wooden crates or foldable drop-leaf tables to create flexible, portable work surfaces.
- Convert vintage dressers or rolling carts into functional, movable kitchen islands with added storage and surface area.
- Incorporate handles, wheels, and foldable features for easy repositioning and space-saving when not in use.
Repurposed Bar Cart for a Stylish Mobile Island

A repurposed bar cart can transform into a stylish, mobile kitchen island that adds both function and flair to your space. Its wheels make it easy to move, perfect for extra counter space during meal prep or gatherings. You can customize the top with durable materials to handle food prep or even bicycle maintenance projects, making it versatile. Use the shelves to store plant care essentials, like watering cans or small pots, turning your cart into a mini garden station. Add hooks or baskets for utensils, towels, or tools. This setup keeps everything within reach and organized. Plus, its aesthetic appeal brings a trendy, industrial vibe to your kitchen. Incorporating space optimization principles can help you maximize your area for both productivity and style. Additionally, integrating smart-home compatible features like wireless charging pads or smart lighting can enhance functionality. Furthermore, choosing multi-functional furniture can enhance the overall utility of your DIY project. With a little creativity, your bar cart becomes a functional centerpiece for cooking, gardening, or DIY projects, making it an adaptable space-saving solution for any home.
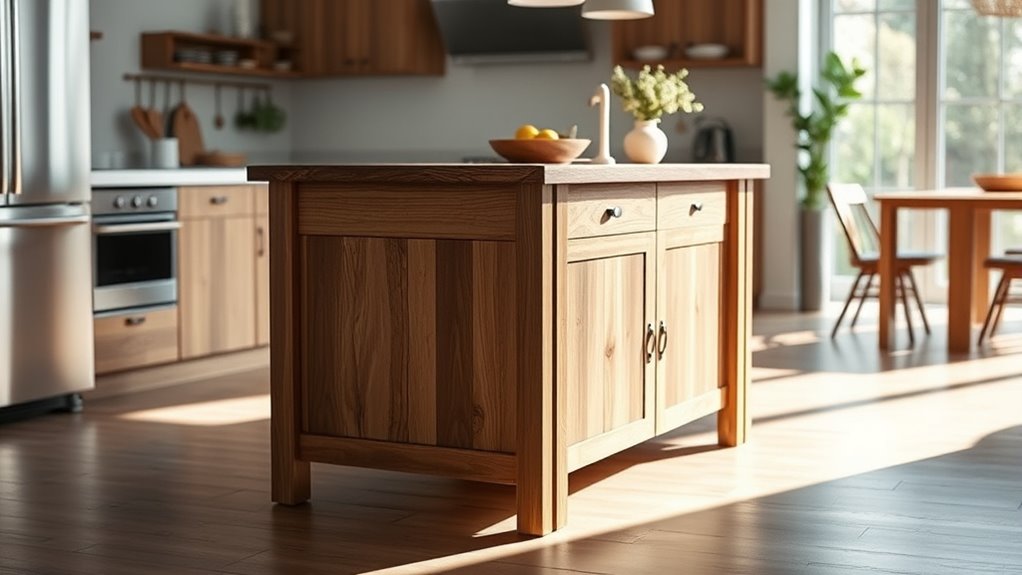
Using a Vintage Dresser as a Functional Kitchen Island
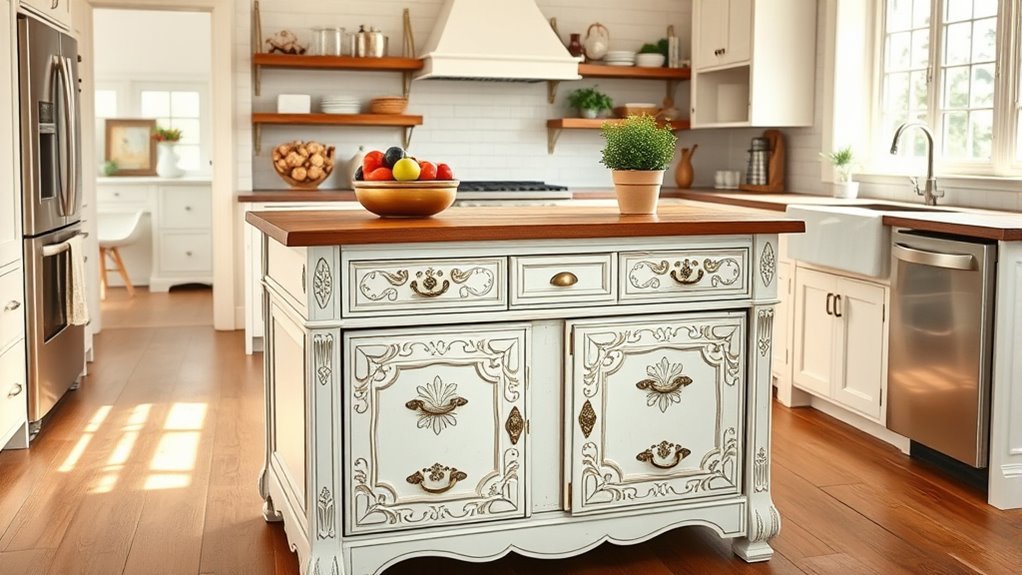
Choosing the right vintage dresser is key to creating a functional kitchen island that fits your space and style. You can customize storage options to include open shelves or drawers, making it both practical and unique. Finish with your favorite paint or stain to add personality and guarantee it complements your kitchen decor. Incorporating color accuracy into your design ensures the final look aligns with your desired aesthetic. Additionally, considering design compatibility with existing furniture can help create a cohesive look in your kitchen space. Selecting a dresser with durability in mind can also ensure it withstands daily use and maintains its charm over time. To further enhance stability and safety, you might also consider adding a custom countertop surface that suits your cooking needs. Understanding financial management principles can help you plan your budget effectively for this project.
Vintage Dresser Selection Tips
Transforming a vintage dresser into a functional kitchen island can add charm and practicality to your space, but selecting the right piece is essential. When considering vintage dresser selection tips, focus on sturdiness and size—choose a solid, well-built piece that fits your available space. Check for structural integrity, paying attention to warping, loose joints, or damaged drawers. Think about furniture restoration techniques to ensure longevity; sanding, repainting, or sealing surfaces can refresh its appearance and protect against moisture. Opt for a dresser with ample surface area and functional storage, like drawers or cabinets, that suits your needs. Avoid pieces with extensive damage or unstable feet. Ensuring the furniture’s stability is crucial for safety and durability. Additionally, assessing vintage dresser quality can help you select a piece that will stand the test of time. It is also helpful to consider the materials used in the dresser to ensure they are durable and suitable for kitchen use. Also, evaluating the restoration potential of the dresser can save time and effort during customization. Informed material selection can significantly impact the overall durability of your DIY project. With careful selection and proper restoration, your vintage dresser will become a beautiful, functional kitchen island.
Customizing Storage Options
To maximize the functionality of your vintage dresser turned kitchen island, customizing its storage options is key. Focus on storage optimization by rearranging or adding shelves, drawers, and baskets to suit your needs. Remove unnecessary hardware or replace knobs to create open spaces for larger items. Consider installing hooks or rails on the sides for hanging utensils, towels, or small tools, enhancing organization solutions. Use clear bins or labeled containers inside drawers to keep everything accessible and tidy. If the dresser has open shelves, add adjustable dividers to prevent clutter and make the best use of space. Additionally, integrating AI-powered organization tools can help you plan and optimize your storage layout more efficiently. Incorporating storage solutions can further enhance the overall functionality and help you maintain an organized space. Research indicates that customized storage options significantly improve kitchen efficiency and reduce clutter. By tailoring your storage options, you’ll create a highly functional and organized kitchen island that meets your specific needs while maintaining a stylish look. Incorporating safety considerations ensures your DIY project remains secure and durable over time. Moreover, consulting building codes can ensure that your modifications comply with local safety standards.
Styling and Finishing Tips
When styling and finishing your vintage dresser turned kitchen island, focus on enhancing its character while ensuring it complements your overall décor. Use decorative accents like vintage knobs, colorful glass jars, or a small potted plant to add personality. Pay attention to color coordination by selecting a finish that matches or contrasts harmoniously with your kitchen palette. Painting or staining the dresser can refresh its look, but keep it cohesive with nearby elements. Consider adding a protective sealant for durability and easy cleaning. Keep the top surface clear for prep work, and use open shelves or drawers for organized storage. Thoughtful styling can transform a repurposed vintage piece into a charming, functional focal point that elevates your kitchen’s style. Additionally, incorporating balanced designs can help create a harmonious and inviting space. Incorporating elements of visual harmony ensures that your DIY project seamlessly integrates with your existing interior for a cohesive look. To further enhance its longevity, choosing durable finishes can protect the surface from daily wear and tear, while selecting appropriate hardware can further personalize the piece. It’s also beneficial to be aware of potential security vulnerabilities in your finishing products and hardware to ensure safety and longevity.
Building a Wooden Crate Island With Casters

Building a wooden crate island with casters is a straightforward project that adds mobility and rustic charm to your kitchen. You’ll start by assembling sturdy wooden crates, which serve as the base. Once assembled, secure casters to the bottom using casters assembly techniques, ensuring they are tightly attached for stability. This allows you to easily move your island around as needed. Here are the key steps:
- Choose and prepare your wooden crates, sanding rough edges for safety.
- Securely fasten casters to the crates’ bottom using appropriate hardware.
- Stack and secure the crates for added height or storage options, then finish with a sealant or paint for a polished look.
- To ensure your project is durable and safe, consider learning about reliable hardware and proper assembly techniques.
This simple project transforms basic wooden crates into a functional, mobile kitchen island.
Creating a Foldable Island From a Drop-Leaf Table
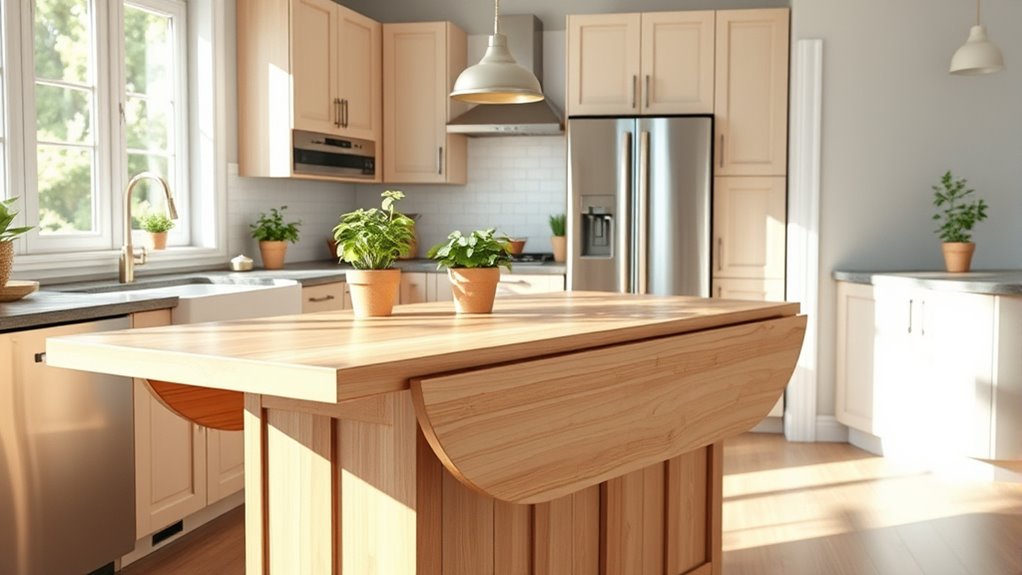
Start by choosing a sturdy drop-leaf table that fits your space and style. Next, reinforce its frame to guarantee stability when it’s fully extended or folded down. Finally, add wheels or casters so you can easily move and position your foldable island wherever you need it.
Selecting a Drop-Leaf Table
Choosing the right drop-leaf table is essential for creating a functional foldable kitchen island. Look for a sturdy table that can handle daily use and fits your space. Consider these key points:
- Size and Height: Select a folding table that matches your countertop height for seamless use.
- Fold-Down Mechanism: Ensure the drop-leaf folds smoothly, saving space when not in use.
- Compatibility with Wall Mounted Counters: Pick a table that can be easily anchored or positioned near wall mounted counters to maximize stability and convenience.
Folding tables come in various styles, so choose one that complements your kitchen aesthetic. This way, you create a versatile, space-saving island that’s easy to set up and store.
Reinforcing the Frame Structure
To guarantee your foldable kitchen island is sturdy and safe for daily use, reinforcing the drop-leaf table’s frame is a vital step. Frame reinforcement ensures the structural stability needed to support weight and frequent movement. Start by inspecting the existing joints and adding metal brackets or corner braces at stress points. Securely fasten all connections with appropriate hardware to prevent wobbling or collapse. Consider installing additional support bars underneath the table to distribute weight evenly across the frame. Reinforcing the structure not only enhances durability but also boosts confidence in your DIY project. Remember, a well-reinforced frame keeps your portable kitchen island stable and reliable, making it a practical addition to your space for years to come.
Adding Mobility Features
Adding mobility features to your foldable kitchen island makes it easy to move and position as needed. To enhance outdoor portability and appliance integration, consider these options:
- Attach lockable caster wheels for smooth movement and stability on various surfaces.
- Use foldable side panels or leaves that can be easily tucked away when not in use, saving space.
- Incorporate handles or grip rails to facilitate quick repositioning, especially outdoors.
These features allow you to move the island effortlessly, whether for outdoor cooking or extra counter space. Plus, the mobility makes it simple to integrate appliances like portable grills or mini fridges, enhancing functionality. With these adjustments, your foldable island becomes a versatile, portable addition to any kitchen or outdoor setup.
Upcycling a Rolling Utility Cart for Extra Storage
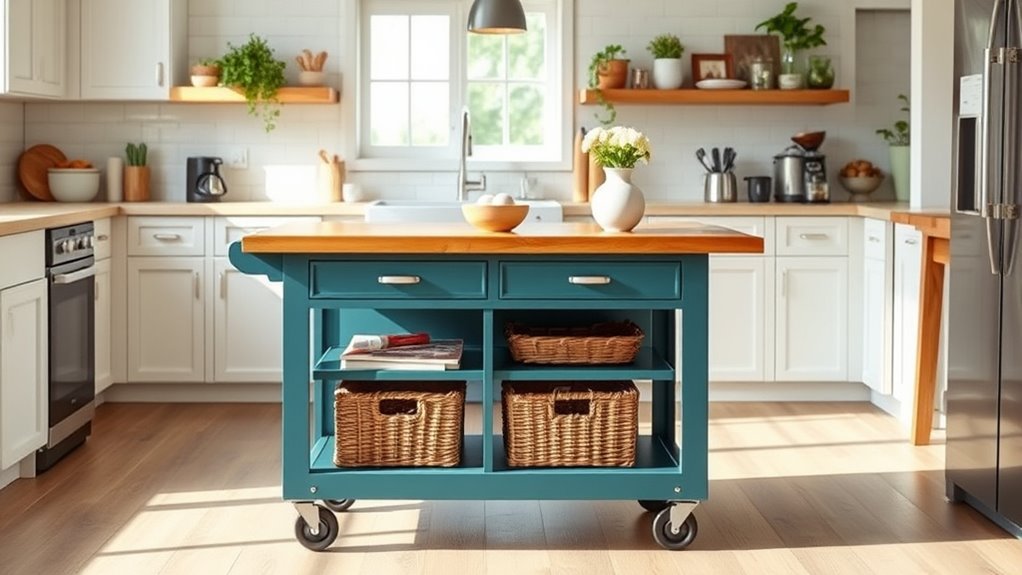
Transforming a rolling utility cart into extra kitchen storage is a smart and budget-friendly upgrade. You can personalize it with decorating ideas that match your kitchen’s style, making it both functional and attractive. Start by giving the cart a fresh coat of paint or adding contact paper for a quick, inexpensive facelift. Use baskets or small containers on the shelves to organize spices, utensils, or pantry items. This approach offers budget-friendly solutions that don’t sacrifice style or practicality. You might also attach hooks or rails for hanging towels or utensils. This DIY project is simple, cost-effective, and versatile, turning a basic utility cart into a customized storage spot that adds extra counter space and enhances your kitchen’s organization.
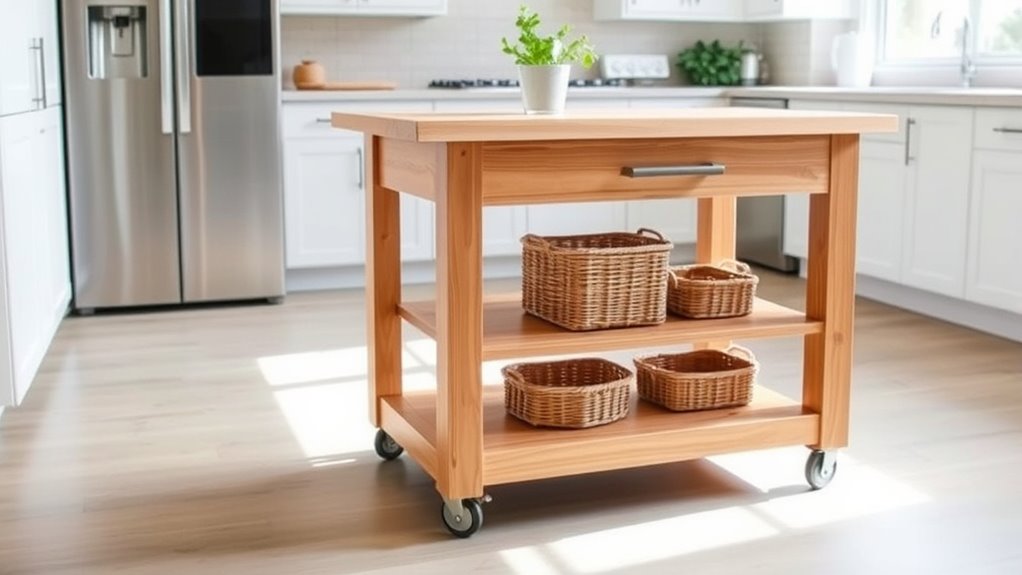
Constructing a Compact Island With Shelving and Wheels

- Select high-quality, lockable wheels for stability.
- Use non-toxic finishes to guarantee safety.
- Secure shelves firmly to avoid accidents.
This approach maximizes flexibility, making your island both functional and safe.
Transforming a Kitchen Island Base Into a Portable Surface
To turn your kitchen island base into a portable surface, start by selecting a sturdy, lightweight top that complements the base’s structure. A quality portable countertop made from materials like butcher block, laminate, or metal provides durability without adding weight. Secure the surface firmly to ensure stability during movement. Incorporate smart storage solutions beneath the top, such as baskets or fold-out shelves, to maximize space. This flexible setup allows you to easily move your island for extra counter space or different uses. Consider the following options to customize your project:
| Material | Storage Solution | Benefits |
|---|---|---|
| Wood | Sliding drawers | Easy access, versatile |
| Laminate | Hooks and racks | Keeps utensils organized |
| Metal | Fold-out shelves | Adds storage without bulk |
| Plastic | Stackable bins | Lightweight, portable |
| Composite | Locking casters | Secure mobility |
Assembling a Mobile Island With a Workbench Top
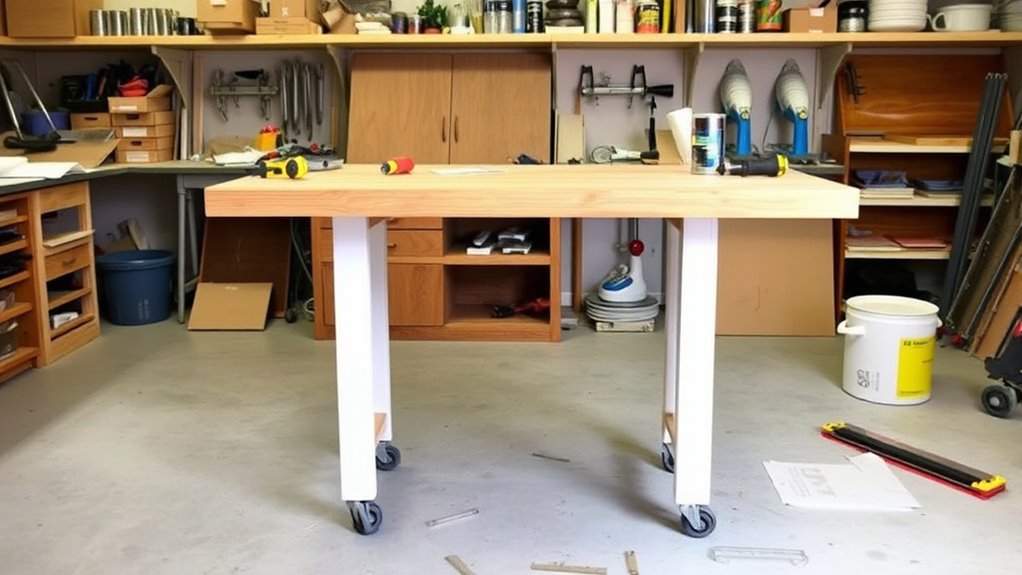
To assemble your mobile island with a workbench top, start by selecting durable materials that can withstand daily use. Make certain to securely fasten the worktop to prevent shifting or wobbling during tasks. Properly securing the surface ensures your island stays stable and safe to work on.
Choosing Durable Materials
Choosing durable materials is essential when assembling a mobile kitchen island with a workbench top, as it guarantees your setup withstands daily use and movement. You’ll want materials that offer excellent countertop durability and can handle spills, cuts, and frequent handling. Additionally, weather resistant materials are crucial if you plan to use the island outdoors or in humid environments. To ensure longevity, consider these options:
- Hardwood like maple or oak for a sturdy, durable surface that resists wear.
- Marine plywood or composite wood, which are weather resistant and ideal for outdoor use.
- Concrete or stone slabs, providing extreme durability and weather resistance for heavy-duty tasks.
Choosing the right materials ensures your island remains functional and attractive over time.
Securing the Worktop
Securing the worktop firmly is essential to guarantee your mobile kitchen island remains stable during use. To achieve this, use adhesive bonding along with mechanical fasteners for added strength. Start by applying a high-quality wood glue or adhesive specifically designed for furniture; spread it evenly on the top edges of the base frame. Carefully place the worktop onto the frame, ensuring it’s aligned properly. Clamp the pieces together and let the adhesive cure fully, following the manufacturer’s instructions. For extra security, drill pilot holes and insert screws through the worktop into the frame. This combination of securing the worktop with adhesive bonding and mechanical fasteners ensures your island stays sturdy and safe, even during heavy use or movement.
Incorporating a Rolling Kitchen Island With Seating Options
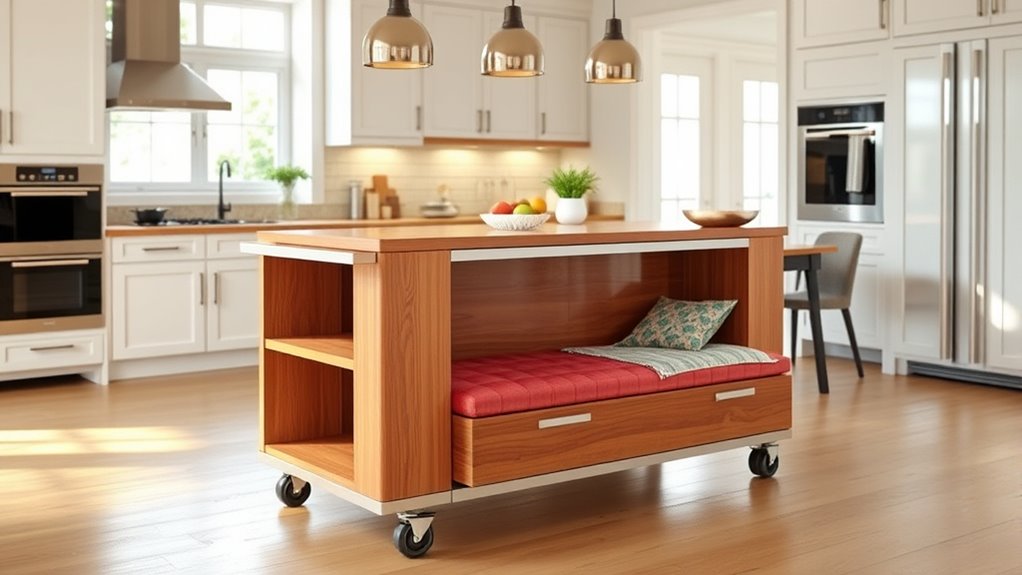
A rolling kitchen island with seating options adds both flexibility and functionality to your space. It transforms your kitchen into a multi-use area perfect for socializing and dining. Consider these ideas:
- Dining Bar – Attach a sturdy countertop extension that doubles as a dining bar, ideal for quick meals or casual conversations.
- Breakfast Nook – Incorporate built-in benches on one side of the island, creating a cozy breakfast nook that’s easy to move or store.
- Swivel Stools – Use portable, swivel stools that can be tucked away when not in use, providing extra seating without clutter.
This setup makes your kitchen more versatile, perfect for hosting guests or enjoying family meals. Plus, the mobility allows you to reconfigure your space effortlessly.
Designing a Lightweight Island With Collapsible Features
Designing a lightweight kitchen island with collapsible features allows you to maximize space and flexibility effortlessly. By choosing collapsible furniture, you can easily fold or slide parts of the island away when not in use, creating more room for movement. A lightweight design guarantees the island is easy to move and reposition as needed, perfect for small kitchens or multifunctional spaces. Use materials like plywood, aluminum, or plastic to keep the weight down without sacrificing durability. Incorporate features like fold-down shelves or collapsible work surfaces that tuck away neatly. This approach lets you enjoy extra counter space when needed and quickly store or transport the island for cleaning or rearrangement. Ultimately, a lightweight, collapsible island adapts seamlessly to your changing kitchen needs.
Frequently Asked Questions
What Materials Are Best for DIY Portable Kitchen Islands?
You should choose durable materials like hardwood or metal for the frame, ensuring stability and longevity. For countertop options, consider butcher block for warmth, stainless steel for a modern look, or laminate for affordability. These materials are easy to work with and can be customized to fit your style. Opt for lightweight options like plywood or aluminum to make your DIY portable kitchen island easy to move around.
How Do I Ensure Stability in a Mobile Kitchen Island?
A stitch in time saves nine, so start with proper weight distribution to make certain your mobile kitchen island stays steady. Use locking casters to prevent unwanted movement, especially when you’re working or cooking. Balance heavier items on the bottom and lighter ones on top, and double-check that the casters are securely attached. Following these steps guarantees stability, making your island both functional and safe to use.
Can I Customize the Size of My DIY Portable Island?
Yes, you can personalize the size of your DIY portable island. When planning your project, consider portable island designs that allow for adjustable dimensions, so you can tailor the size to fit your space and needs. Use modular components or extendable surfaces to make your island more versatile. By choosing customizable dimensions, you guarantee your portable island complements your kitchen perfectly while remaining functional and easy to move around.
What Safety Tips Should I Follow During Assembly?
Ever wonder how to stay safe during assembly? You should always prioritize assembly safety by wearing protective gear like goggles and gloves. Keep your workspace clear of clutter, and double-check your power tool precautions before use. Are you following manufacturer instructions carefully? These steps help prevent accidents and injuries. Remember, staying alert and cautious guarantees your DIY project turns out great without risking your safety.
How Do I Add Storage to a Portable Kitchen Island?
You can add storage to your portable kitchen island by installing decorative finishes like custom paint or veneer to enhance its look. Incorporate open shelves or hooks underneath for portable appliances and utensils, making everything accessible. Use drawers or baskets for additional organized storage. These ideas keep your island functional and stylish, ensuring you maximize space while maintaining a cohesive look with decorative touches that match your kitchen’s decor.
Conclusion
With these DIY portable kitchen island ideas, you’ll turn your space into an unstoppable culinary fortress. Imagine having a movable masterpiece that not only boosts your counter space but also transforms your cooking zone into a dynamic, stylish haven. Whether you choose a vintage dresser or a foldable table, you’ll create a functional work of art that’s as versatile as it is breathtaking. Get ready to impress everyone—your kitchen will be the talk of the town!